
Writing tests are useful, but on large projects it can be easy to lose track of what portions have been tested. That is where the concept of code coverage comes in: quantifying the how much of your code is actually used in tests.
Tools such as Istanbul make this a snap. Essentially you wrap your tests inside of some Istanbul instructions, which will then generate a handy report.
Generating Reports
Here's some code to generate a report for Mocha tests in Gulp.
var mocha = require('gulp-mocha');
var istanbul = require('gulp-istanbul');
var plumber = require('gulp-plumber');

gulp.task('mocha', function (cb) {
  var mochaErr;
  // Track src files that should be covered
  gulp.src(serverFiles)
    .pipe(istanbul({ includeUntested: true })) // Covering files
    .pipe(istanbul.hookRequire()) // Force `require` to return covered files
    .on('finish', function() {
      // Specify server specs
      gulp.src(paths.serverSpec, {read: false})
        .pipe(plumber())
        .pipe(mocha({
          reporter: 'spec',
          timeout: 20000
        }))
        // Write reports to Istanbul
        .pipe(istanbul.writeReports())
    });
});
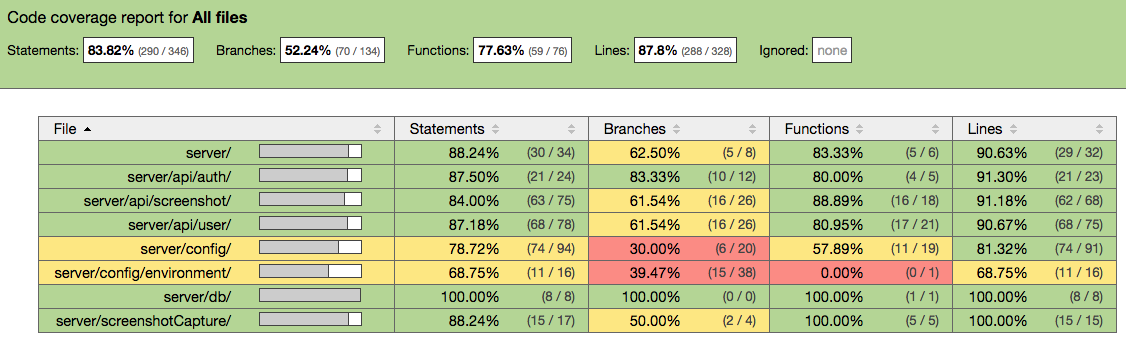
Once run, you get a handy html report, reading data from an .lcov file.
Publicizing Your Coverage
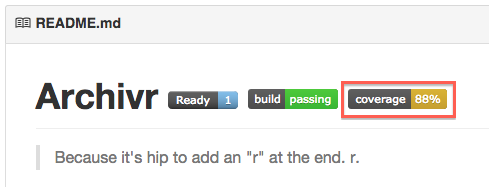
Coveralls is an information radiator: you provide it with code coverage information and it makes those results easily available to the public. A common use case is to place a badge on your GitHub repo, declaring your code coverage percentage.
Setting up Coveralls is straightforward. Log into the site using your GitHub credentials. Choose a repo on which you'd like to track code coverage.
You can start by manually uploading your code coverage information. Coveralls will give you a repo-token with which you can access Coveralls from your local machine. You store the information in a .coveralls.yml file, like so:
service_name: travis-ci
repo_token: secretRepoToken
Here's sample code to do so with Gulp:
var coveralls = require('gulp-coveralls');

gulp.task('coveralls', function () {
  return gulp.src('./path/to/lcov/file.lcov')
    .pipe(coveralls());
});
Running gulp coveralls will send your data up to the Coveralls page, using the .coveralls.yml file for access.
Integrating Coveralls with Travis CI
If you have Travis set up, you can also send data to Coveralls through Travis. This is a typical pattern in teams, because the tests (and thus reports) are run automatically. Coveralls magically knows how to connect with Travis when you give it access to your GitHub repo (assuming you already have Travis CI associated with your repo). You don't need to provide Travis CI with anything -- no extra environment variables, no .coveralls.yml file. You just run the command.
# inside .travis.yml file...
# Run `gulp coveralls` to send data to Coveralls
after_script:
 - ./node_modules/.bin/gulp coveralls
I modify my gulp coveralls task to only run if being sent from Travis CI. That prevents Coveralls from being spammed when I'm just running a bunch of tests locally, that don't necessarily mean anything to the team.
gulp.task('coveralls', function () {
  if (!process.env.CI) return;
  return gulp.src('./coverage/lcov.info')
    .pipe(coveralls());
});
Wrapping Up
With all this set up, Coveralls should be up and running. It takes a while to understand how all the pieces fit together at first. It took me roughly three hours the first time. The second time I set one up for a project, it took me ten minutes.
Am I missing a step? Let me know!